Using EntityFramework Core for configuration and operational data
In the previous quickstarts, we created our client and scope data in code. On startup, IdentityServer loaded this configuration data into memory. If we wanted to modify this configuration data, we had to stop and start IdentityServer.
IdentityServer also generates temporary data, such as authorization codes, consent choices, and refresh tokens. By default, these are also stored in-memory.
To move this data into a database that is persistent between restarts and across multiple IdentityServer instances, we can use the IdentityServer4 Entity Framework library.
Note
In addition to manually configuring EF support, there is also an IdentityServer template to create a new project with EF support, using dotnet new is4ef.
IdentityServer4.EntityFramework
IdentityServer4.EntityFramework implements the required stores and services using the following DbContexts:
ConfigurationDbContext - used for configuration data such as clients, resources, and scopes
PersistedGrantDbContext - used for temporary operational data such as authorization codes, and refresh tokens
These contexts are suitable for any Entity Framework Core compatible relational database.
You can find these contexts, their entities, and the IdentityServer4 stores that use them in the IdentityServer4.EntityFramework.Storage nuget package.
You can find the extension methods to register them in your IdentityServer in IdentityServer4.EntityFramework, which we will do now:
dotnet add package IdentityServer4.EntityFramework
Using SqlServer
For this quickstart, we will use the LocalDb version of SQLServer that comes with Visual Studio. To add SQL Server support to our IdentityServer project, you’ll need the following nuget package:
dotnet add package Microsoft.EntityFrameworkCore.SqlServer
Database Schema Changes and Using EF Migrations
The IdentityServer4.EntityFramework.Storage package contains entity classes that map from IdentityServer’s models.
As IdentityServer’s models change, so will the entity classes in IdentityServer4.EntityFramework.Storage.
As you use IdentityServer4.EntityFramework.Storage and upgrade over time, you are responsible for your database schema and changes necessary to that schema as the entity classes change.
One approach for managing those changes is to use EF migrations, which is what we’ll use in this quickstart.
If migrations are not your preference, then you can manage the schema changes in any way you see fit.
Note
You can find the latest SQL scripts for SqlServer in the IdentityServer4.EntityFramework.Storage repository.
Configuring the Stores
To start using these stores, you’ll need to replace any existing calls to AddInMemoryClients, AddInMemoryIdentityResources, AddInMemoryApiScopes, AddInMemoryApiResources, and AddInMemoryPersistedGrants in your ConfigureServices method in Startup.cs with AddConfigurationStore and AddOperationalStore.
These methods each require a DbContextOptionsBuilder, meaning your code will look something like this:
var migrationsAssembly = typeof(Startup).GetTypeInfo().Assembly.GetName().Name;
const string connectionString = @"Data Source=(LocalDb)\MSSQLLocalDB;database=IdentityServer4.Quickstart.EntityFramework-4.0.0;trusted_connection=yes;";

services.AddIdentityServer()
    .AddTestUsers(TestUsers.Users)
    .AddConfigurationStore(options =>
    {
        options.ConfigureDbContext = b => b.UseSqlServer(connectionString,
            sql => sql.MigrationsAssembly(migrationsAssembly));
    })
    .AddOperationalStore(options =>
    {
        options.ConfigureDbContext = b => b.UseSqlServer(connectionString,
            sql => sql.MigrationsAssembly(migrationsAssembly));
    });
You might need these namespaces added to the file:
using Microsoft.EntityFrameworkCore;
using System.Reflection;
Because we are using EF migrations in this quickstart, the call to MigrationsAssembly is used to inform Entity Framework that the host project will contain the migrations code.
This is necessary since the host project is in a different assembly than the one that contains the DbContext classes.
Adding Migrations
Once the IdentityServer has been configured to use Entity Framework, we’ll need to generate some migrations.
To create migrations, you will need to install the Entity Framework Core CLI on your machine and the Microsoft.EntityFrameworkCore.Design nuget package in IdentityServer:
dotnet tool install --global dotnet-ef
dotnet add package Microsoft.EntityFrameworkCore.Design
To create the migrations, open a command prompt in the IdentityServer project directory and run the following two commands:
dotnet ef migrations add InitialIdentityServerPersistedGrantDbMigration -c PersistedGrantDbContext -o Data/Migrations/IdentityServer/PersistedGrantDb
dotnet ef migrations add InitialIdentityServerConfigurationDbMigration -c ConfigurationDbContext -o Data/Migrations/IdentityServer/ConfigurationDb
You should now see a ~/Data/Migrations/IdentityServer folder in your project containing the code for your newly created migrations.
Initializing the Database
Now that we have the migrations, we can write code to create the database from the migrations. We can also seed the database with the in-memory configuration data that we already defined in the previous quickstarts.
Note
The approach used in this quickstart is used to make it easy to get IdentityServer up and running. You should devise your own database creation and maintenance strategy that is appropriate for your architecture.
In Startup.cs add this method to help initialize the database:
private void InitializeDatabase(IApplicationBuilder app)
{
    using (var serviceScope = app.ApplicationServices.GetService<IServiceScopeFactory>().CreateScope())
    {
        serviceScope.ServiceProvider.GetRequiredService<PersistedGrantDbContext>().Database.Migrate();

        var context = serviceScope.ServiceProvider.GetRequiredService<ConfigurationDbContext>();
        context.Database.Migrate();
        if (!context.Clients.Any())
        {
            foreach (var client in Config.Clients)
            {
                context.Clients.Add(client.ToEntity());
            }
            context.SaveChanges();
        }

        if (!context.IdentityResources.Any())
        {
            foreach (var resource in Config.IdentityResources)
            {
                context.IdentityResources.Add(resource.ToEntity());
            }
            context.SaveChanges();
        }

        if (!context.ApiScopes.Any())
        {
            foreach (var resource in Config.ApiScopes)
            {
                context.ApiScopes.Add(resource.ToEntity());
            }
            context.SaveChanges();
        }
    }
}
The above code may require you to add the following namespaces to your file:
using System.Linq;
using IdentityServer4.EntityFramework.DbContexts;
using IdentityServer4.EntityFramework.Mappers;
And then we can invoke this from the Configure method:
public void Configure(IApplicationBuilder app)
{
    // this will do the initial DB population
    InitializeDatabase(app);

    // the rest of the code that was already here
    // ...
}
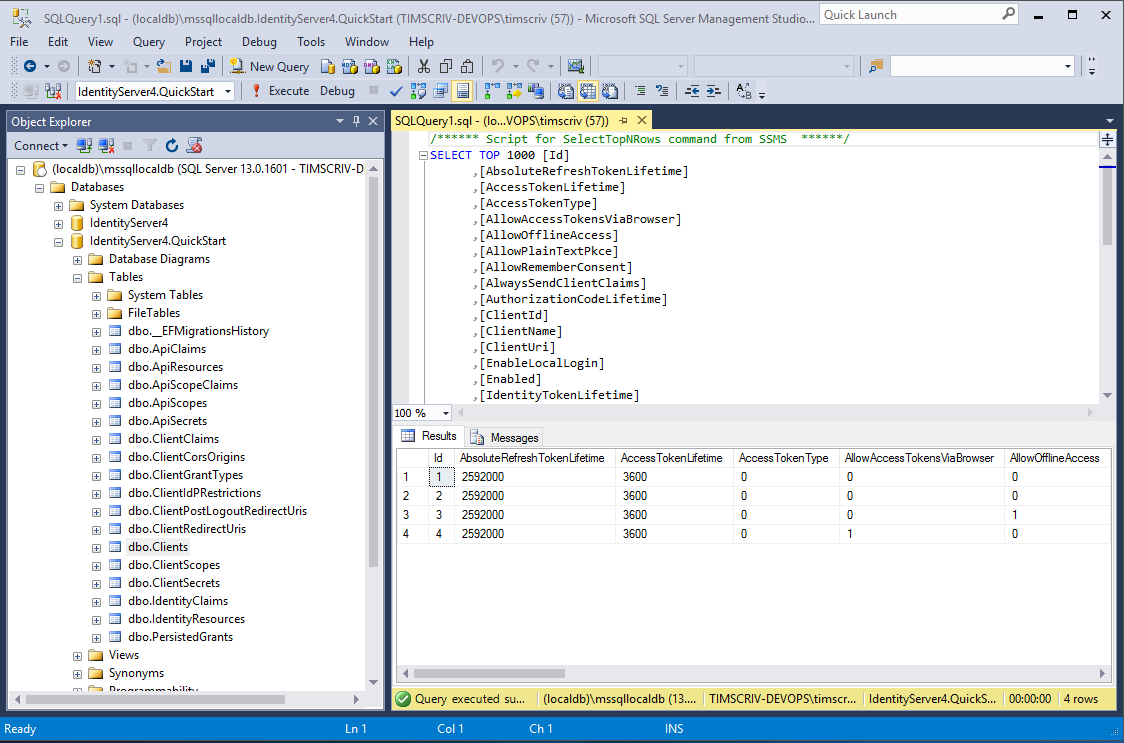
Now if you run the IdentityServer project, the database should be created and seeded with the quickstart configuration data. You should be able to use SQL Server Management Studio or Visual Studio to connect and inspect the data.
Note
The above InitializeDatabase helper API is convenient to seed the database, but this approach is not ideal to leave in to execute each time the application runs. Once your database is populated, consider removing the call to the API.
Run the client applications
You should now be able to run any of the existing client applications and sign-in, get tokens, and call the API – all based upon the database configuration.